Creating customized calendars with Pically is really easy! Follow these steps
to
make
your own photo calendar.
Hint: You have two options to make your calendar:
1. Every month one by one: with "Pically Free" you have to create a calendar for each month.
2. Full Year Calendar: with "Pically Premium" you can create a calendar for the whole year at
once.
You can purchase Pically Premium here.
This tutorial will show how you can create your calendar for the whole year
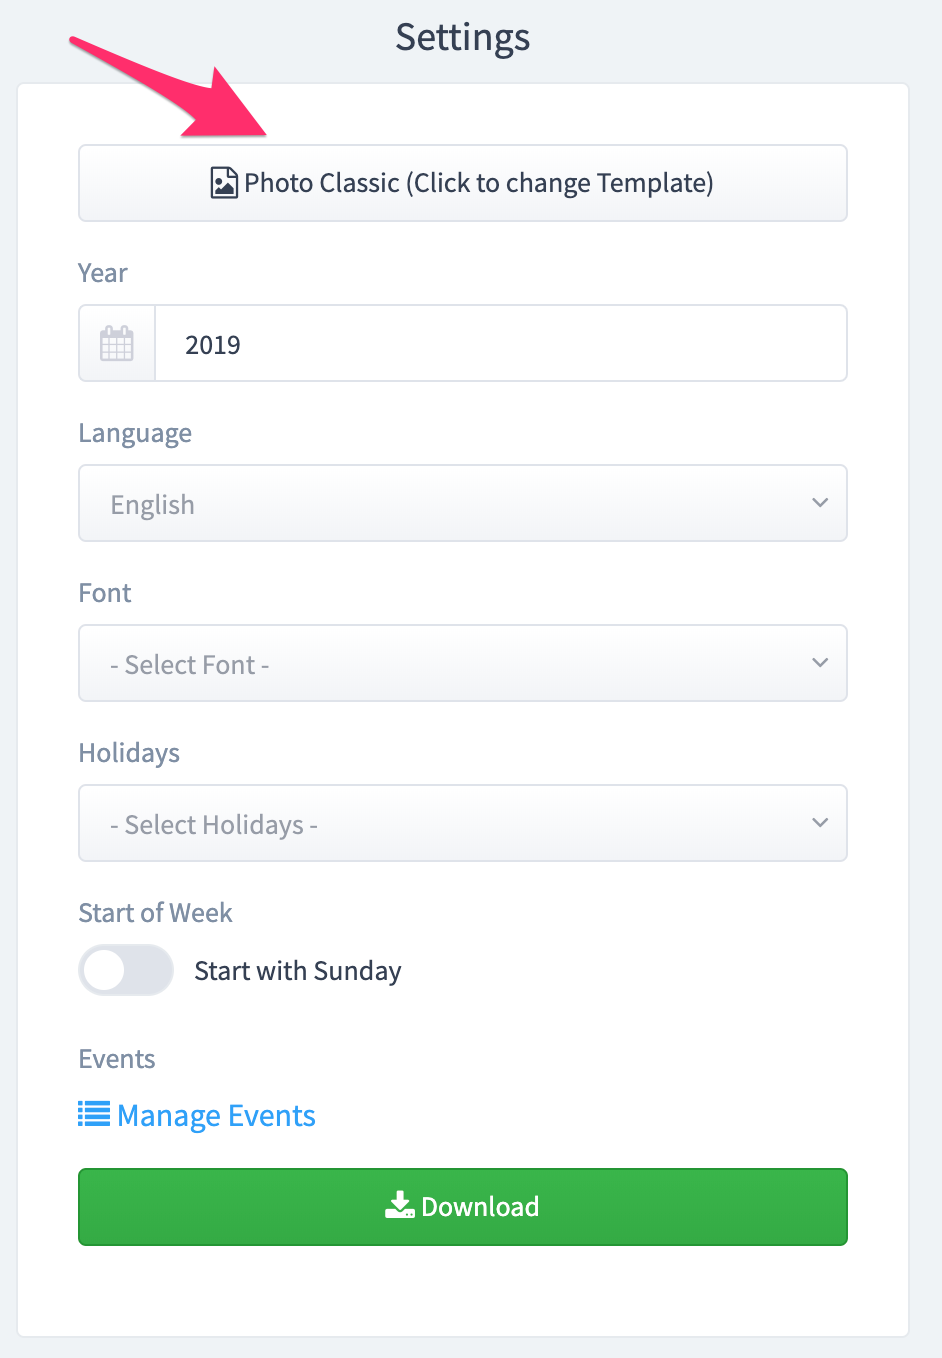
1. Select Calendar Template
After clicking Create Year
Calendar
in the navigation menu, you should see
the settings on the left side. First select your desired calendar template:
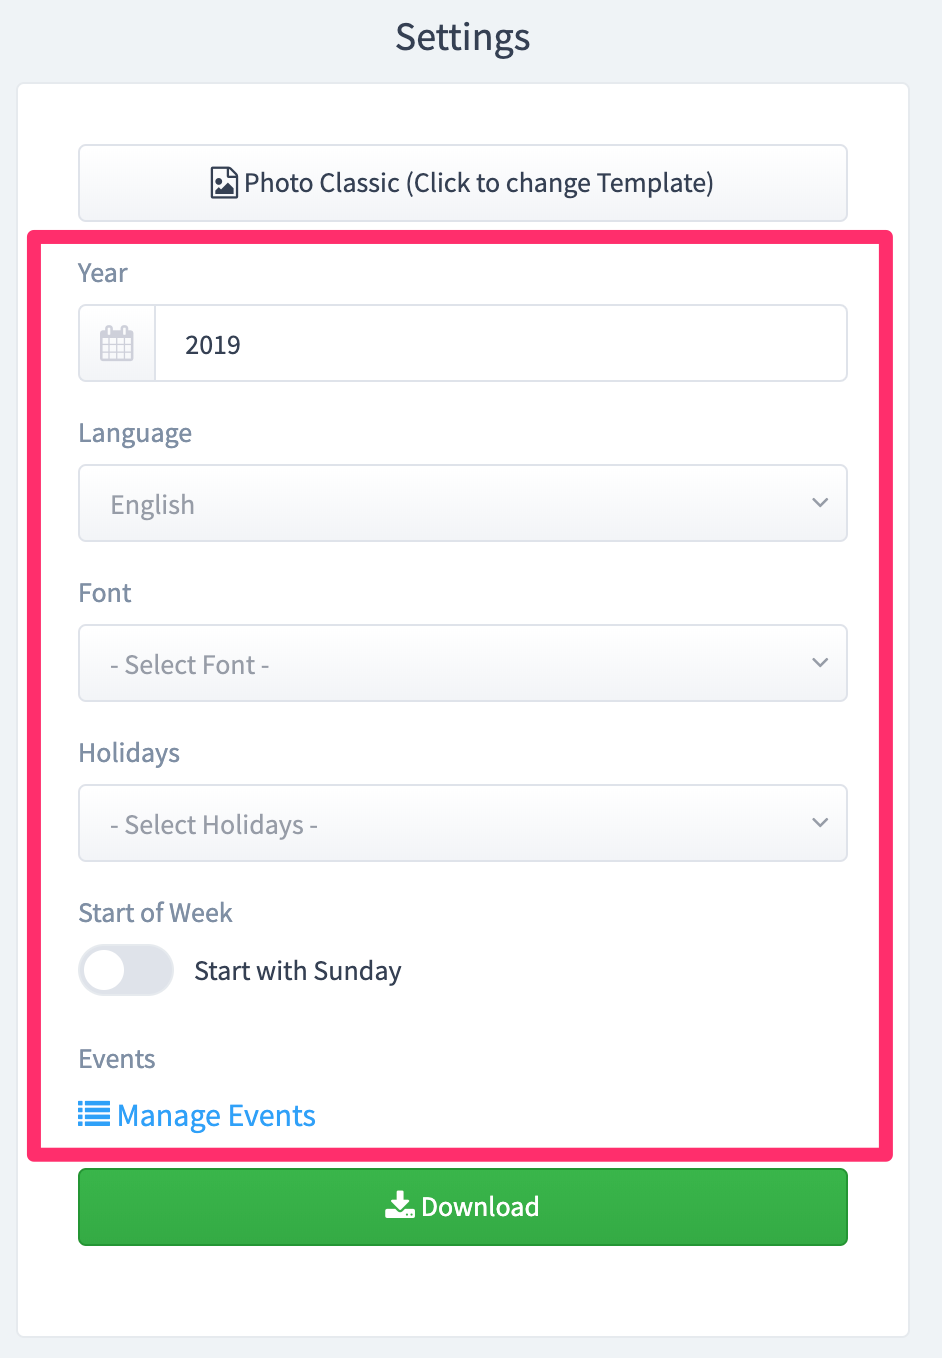
2. Customize Calendar Settings
Now customize your calendar to your likings by selecting the calendar year, language, font and
holidays.
If you like the week to start with sunday, activate the toggle.
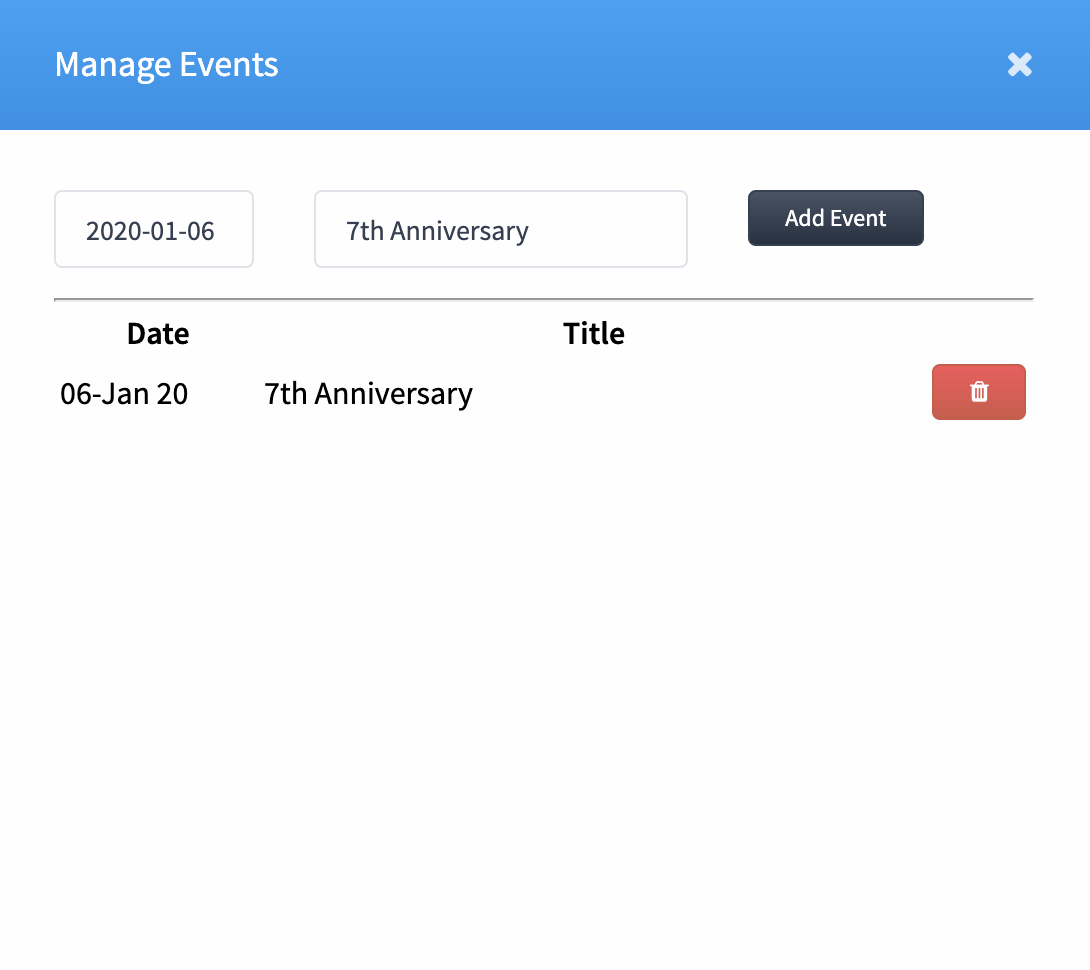
3. Add Calendar Events
If you like to add some events like birthdays and anniversaries, click on "Manage Events" and
add
your events as shown below.
Once you are done close the Manage Events window.
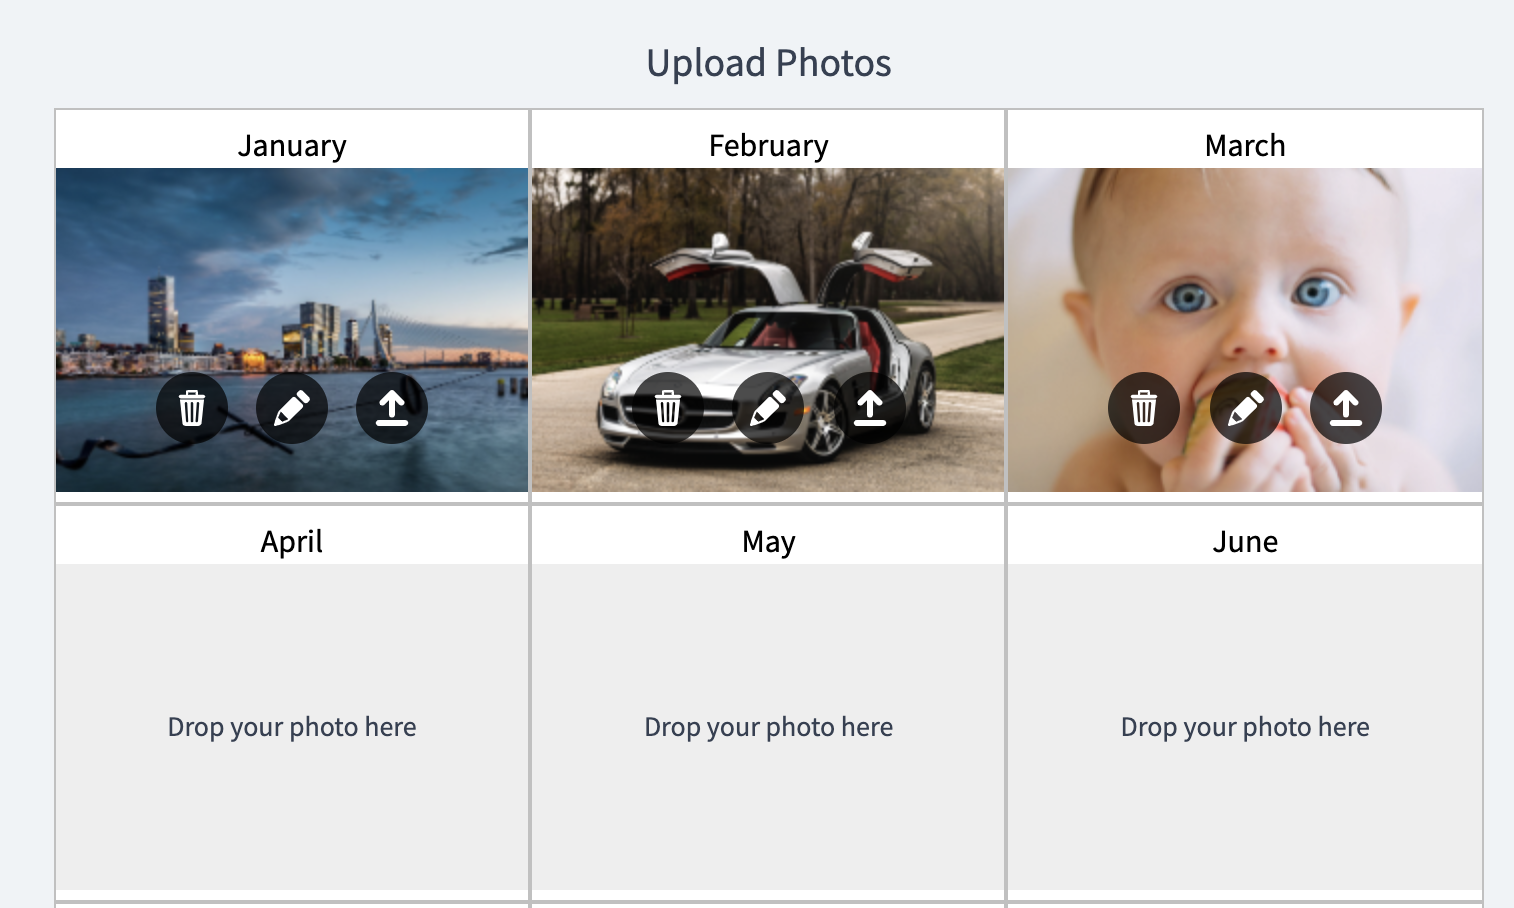
4. Prepare Calendar Photos
Tip: prepare the photos for the months beforehand by putting the 12 pictures in a folder on the
desktop for instance.
You can also name the files e.g. 1.jpg, 2.jpg, 3.jpg etc... so that you can easily assign them
to
the months.
Once you have prepared the photos you can drag and drop them into the months as shown below.
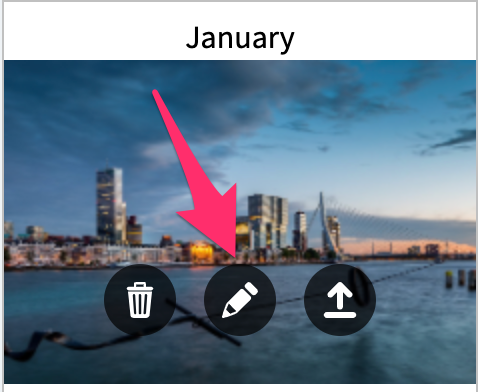
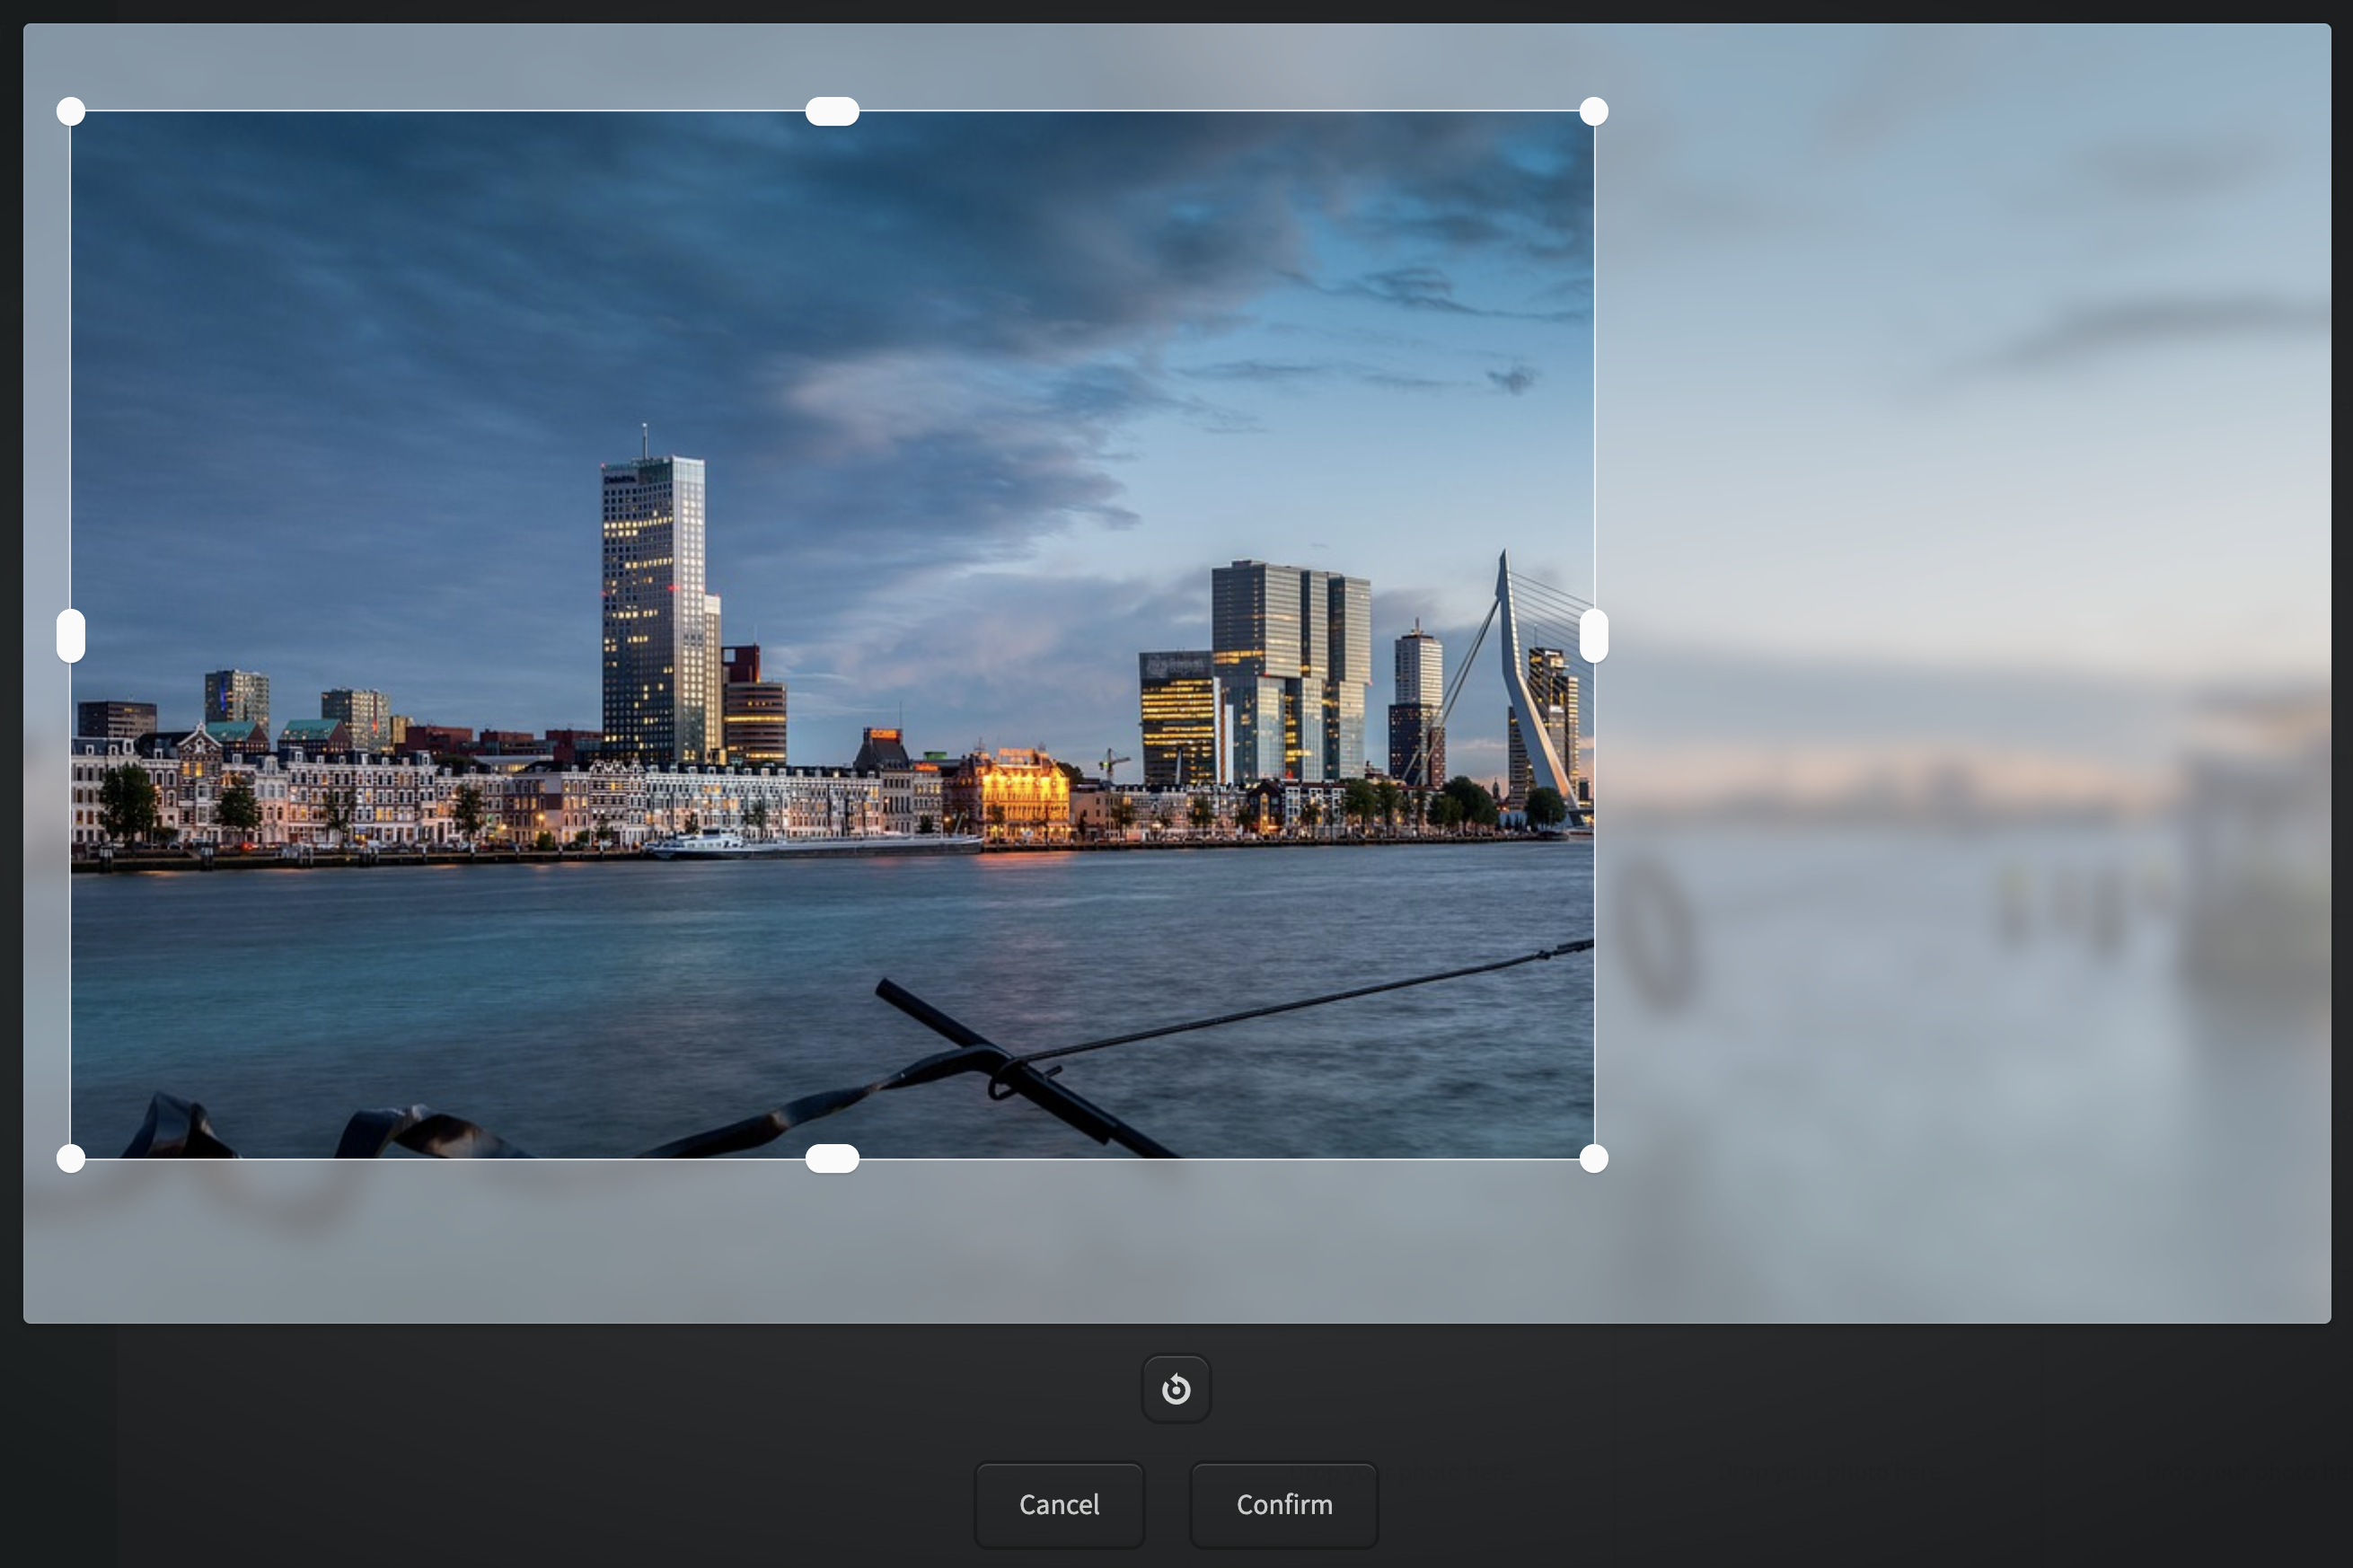
5. Crop Photos
Now you can crop and position your photos by clicking the edit button:
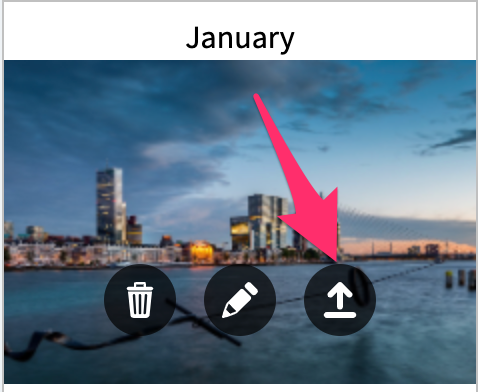
6. Upload Photos
To upload your prepared photos click on the upload button and wait for the upload to complete.
Once the upload has finished, you should see the message "Saved" on the top right corner of the
photos.
Repeat now this step with all months.

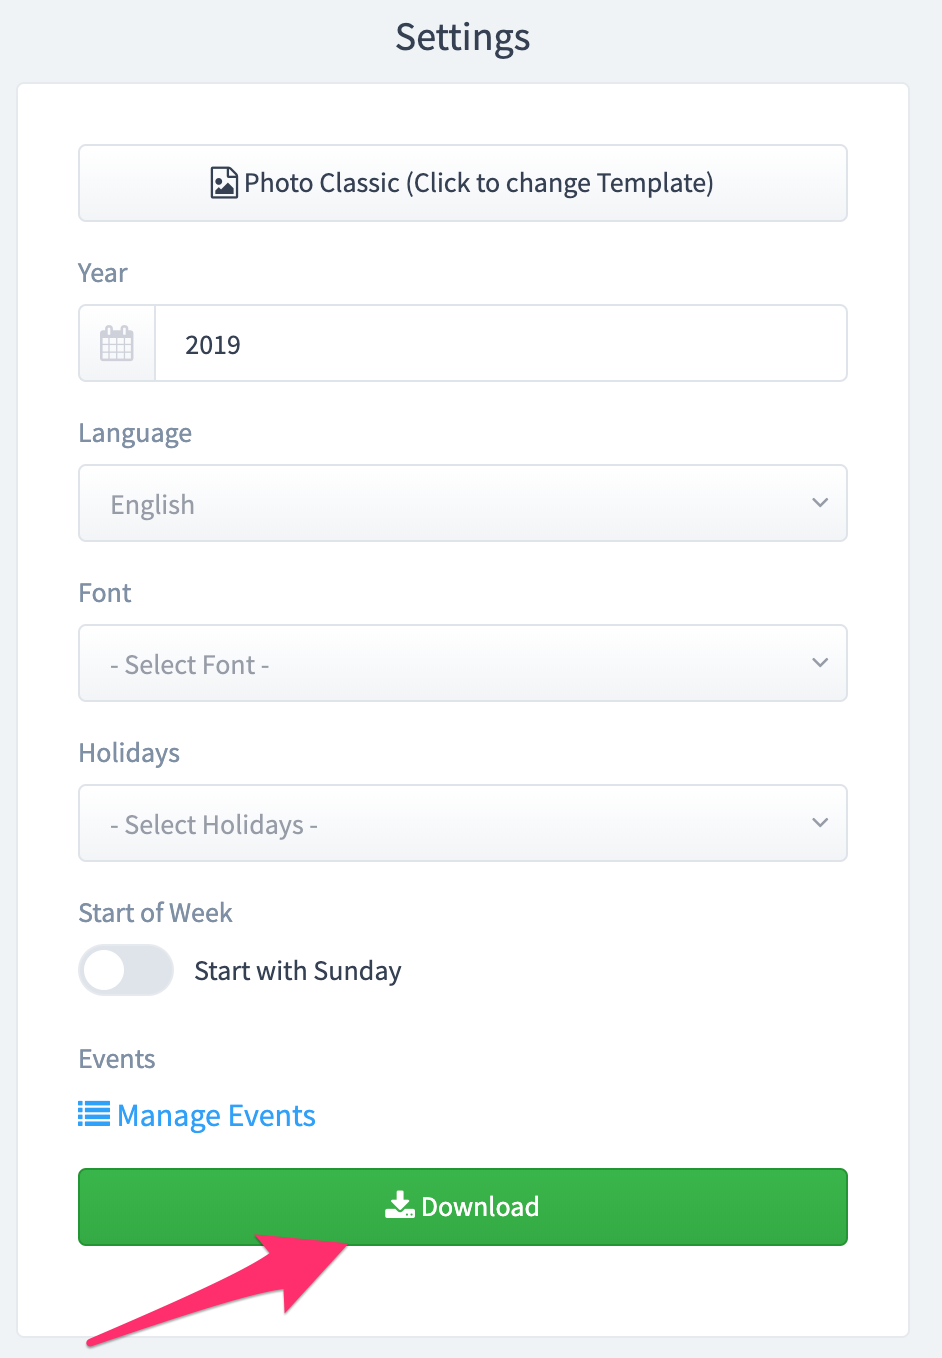
7. Download Your Year Calendar
After uploading the photos for each month you can now download your year calendar.
Just click the button as shown below: